The data contained within each card can be visualized directly on the summary page, with options to incorporate selections, charts, and images. Summary pages are adaptable, allowing them to be added to all cards and tailored to specific categories as needed.
You can add the following “things” to a Summary page
- The card name and icon
- Charts
- QR actions
- Selections
- Item´s rich format: The text and images in the description field of the card
- Label: Texts or space in between controls
- Properties
- KPI´s
In this example we will create a summary page for documents.
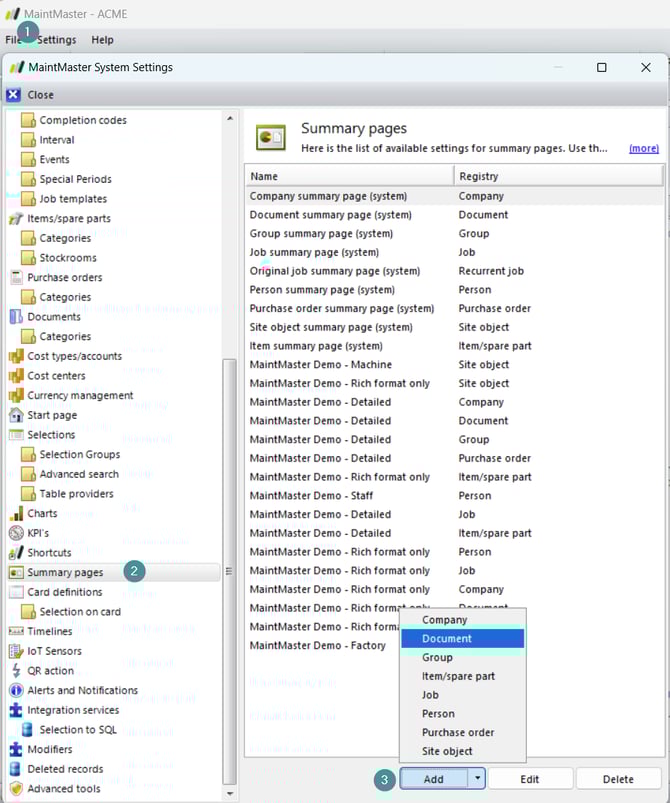
1. Log in to the admin client and go to System settings
2. Choose Summary pages
3. Click on Add/ Document
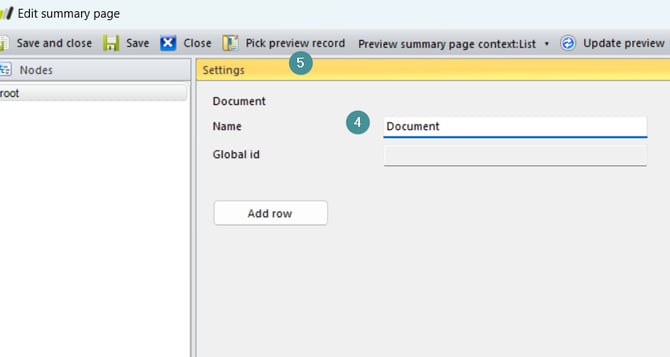
4. Enter a name: Document
5. Click on Pick a preview record
6. Search on Document
7. Double click on a document to pick it

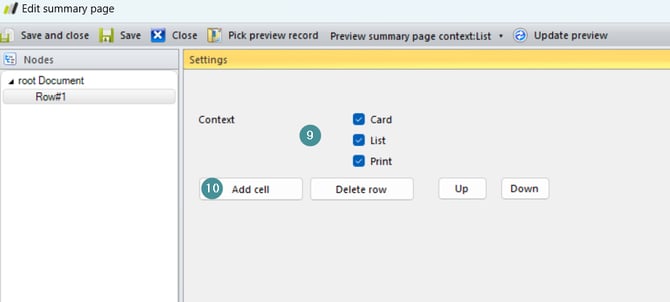
8. Click on the button Add row

9. Select where the information should be displayed (Card, List, Print)

10. Click Add cell
11. Choose Add control – Full item name (and icon)
12. Go back to root Document

13. Click Add row
14. All 3 context (Card, List, Print) should remain checked
15. Click Add cell
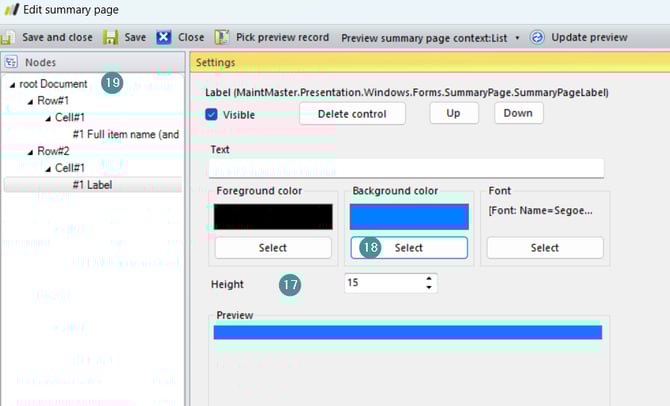
16. Click Add control choose Label
17. Set Height to 15 (It sets the distance to the next control)
18. Select a background color
19. Go back to root
 20. Click Add row
21. Click Add cell
22. Click Add control and choose Item’s rich format
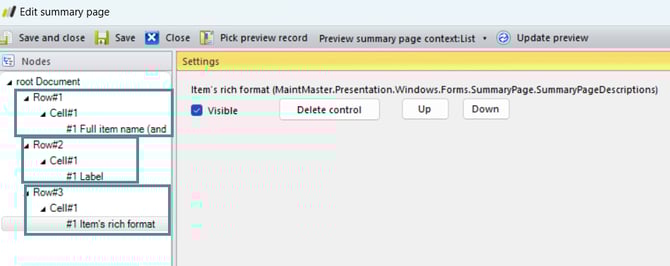
Now you have created three rows and you see them in the list to the left.
This is how it will look like on the document
 23. Save and close the summary page
Do you need help to add the new summary page on a category? Check out this article: Add summary page to category