Example hierarchy structure
| Level | Example | Description |
|---|---|---|
| Plant | Country (US, UK) | The top level of the hierarchy |
| Business Unit | City | Groups facilities within a location |
| Facility | Factory building (Building A, Building B) | The physical factory building |
| Area | Production area | A production section within the facility |
| Work Centre | Production line or machine group | The operational unit |
With this structure you can, for example:
-
Run reports for one specific factory.
-
Compare all factories across countries.
-
Restrict a user to only see the Area they work in.
Tip: User access can be restricted to a specific part of the hierarchy.
Create the hierarchy
All hierarchy levels are configured in System Settings → Manager → Plant Config.
The structure must be created from the top level down.
Step 1 – Create a Plant
1. Go to System Settings → Manager.
2. Select "Plant Config".
3. Click "Plant".
4. Click the "Add New" icon.
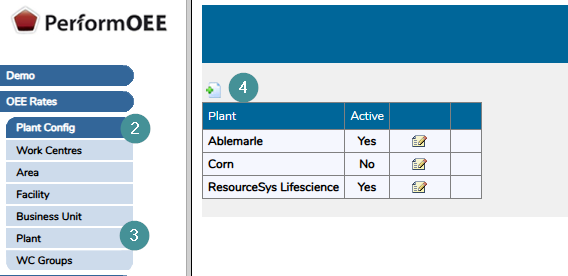
5. Enter a Plant Name (example: US).
6. Set Active = Yes if the plant should be available.
7. Click Save.

Step 2 – Create a Business Unit
In this example, the Business Unit represents the city.
1. Stay in Plant Config.
2. Select "Business Unit".
3. Click the "Add New" icon.
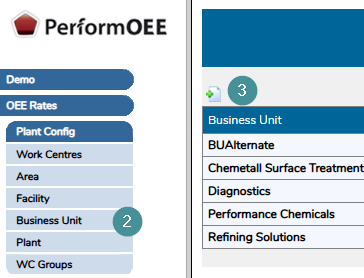
4. Enter a Business Unit Name (example: Chicago).
5. Select the Plant the Business Unit belongs to.
6. Set Active = Yes.
7. Click Save.

Step 3 – Create a Facility
A Facility represents the factory building.
1. Stay in Plant Config.
2. Select "Facility".
3. Click the "Add New" icon.
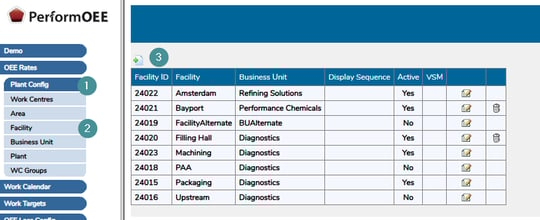
4. Enter a Facility Name (example: Building A).
5. Select the Business Unit the Facility belongs to.
6. Leave Display Sequence
7. Set Active = Yes.
8. Set VSM = None
9. Click Save.

Step 4 – Create an Area
An Area represents the physical production location within the facility.
1. In system settings
2. Stay in Plant Config
3. Select "Area".
4. Click the "Add New" icon.
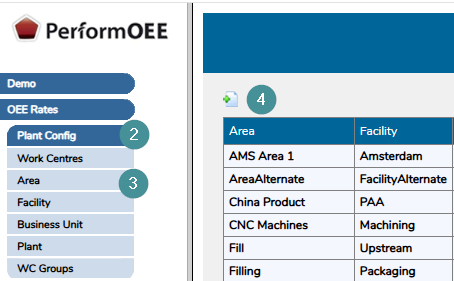
5. Enter an Area Name.
6. Select the Facility the Area belongs to.
7. Enter the Day Start Time.
Day Start Time - The Day Start Time defines when a Shift Date begins.
This typically matches the production day start time.
8. Set Active = Yes.
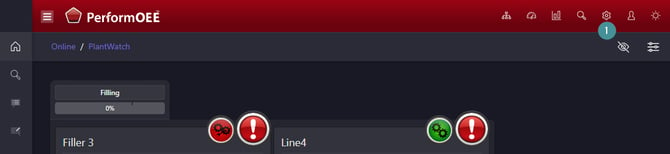
9. Display Sequence determines the order in which Work Centres appear in Plant Watch.
10. Import Delay, Leave this set to the default value 0.
11. Short Stops Limit is measured in milliseconds.
Example:
-
60,000 milliseconds (1 minute)
Any stop shorter than this value will be classified as a short stop and operators will not be prompted to reassign it.
12. Startup Rejects Limit, Leave this set to the default value 0.
13. Click "Save".

Next step
After creating the hierarchy, the next step is to connect a Work Centre to the Area.
You are charged per Work Centre, not per user. This means that the number of users does not affect the cost, only the number of Work Centres. A valid license is required for each Work Centre, and adding one without the necessary license will result in system access being restricted.
If a new Work Centre license is required. Always contact your Account Manager before proceeding. In many cases, assistance is needed to connect the machine to the system.